Home     About     DIY     Recipes     InStitches    Contact

27.11.10

The Photo Wall

Instax Photo Wall

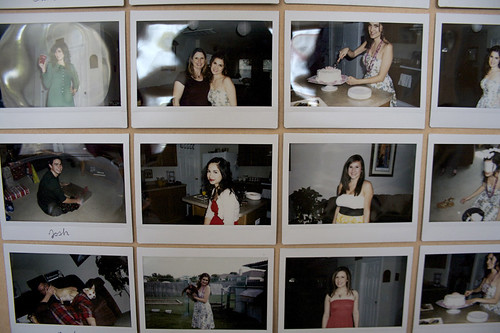
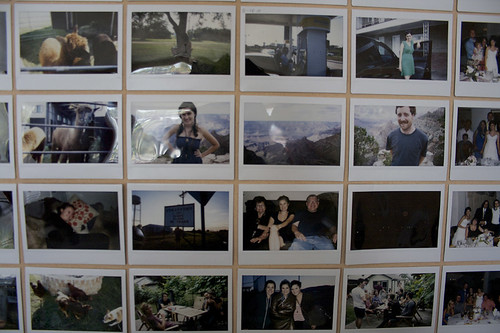
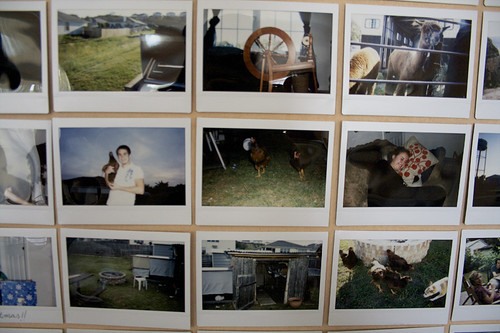
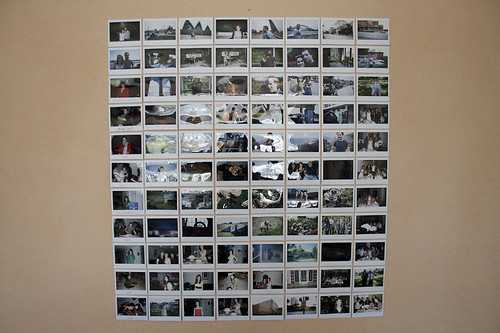
Today I assembled a large photo wall display of a bunch of our instax photos! I've been wanting make a big photo wall display for ages but didn't have a house/didn't have time/didn't have the energy. Today I was feeling a bit better and went for it!

I love how it turned out!!

It's a collection of photos of my family home in Texas, places around downtown, photos of my trip to visit Phil when he proposed to me, last year's Christmas photos, my family, my bridal shower, our wedding and our epic roadtrip... they are all perfect little happy memories that make me smile just to see.

Instax Photo Wall

Instax Photo Wall

Instax Photo Wall

Looking at the photo wall is like looking at a snapshot of my life. I am so blessed! I love my life! It's so good to have that reminder of all the love and happiness in my life!!

Instax Photo Wall

I can't wait to see what "photo walls" life will bring me in the coming years.

xoxo
Talia Christine

26.11.10

Happy Thanksgiving!

Thanksgiving Dinner
source

Happy Thanksgiving, everybody!

While Thanksgiving is my very favorite holiday (and 4th of July!!), I won't be cooking a big huge meal today since I've not been feeling so great. 
Thank you, Beansy. 
We don't plan on skipping Thanksgiving entirely though! I plan on cooking a big Thanksgiving meal for us once I start feeling better. Even though it won't be on Thanksgiving, it will still be fun! I'm looking forward to that big yummy meal. It will be my first Thanksgiving where I'm cooking the whole dinner solo!!

I'm thankful for my ever-incredible Husband.

Yard Sale Day

I don't know where I would be without him! He loves me so much and he takes such good care of me. Since I've been feeling quite morning sick he brings me yogurt and chopped fruit in bed in the mornings. He makes me laugh and he calls me during the day to check up on me. I hope our kids are very much like him. He is going to be a wonderful dad. I'm so proud of him.

What are you thankful for in your life?

xoxo
Talia Christine
25.11.10

Big Happy News! (The Happiest)

Big Happy News!!!

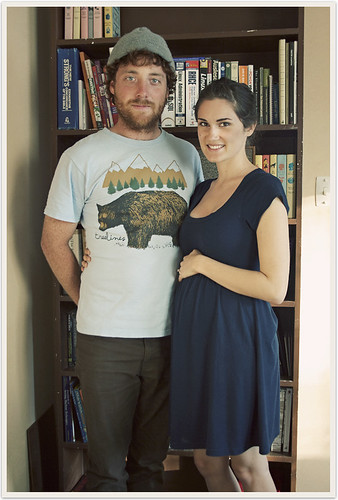
We're expecting a baby!
Due June 9th, 2011.

We're beyond excited to share this news and we're so excited to meet you, baby! We've been calling the future baby our "van der Bean" or just "Beansie" for short because the baby is so little (and growing so fast!)

I'm officially past my first trimester and I can't believe it! I've been sick as all get out and hopefully soon the morning sickness will pass.

I'm already planning all the cute things I want to make and knit for the little one.

Ah! We're gonna be parents!! We couldn't be happier!

xoxo
Talia Christine

20.11.10

Feature and Q &A

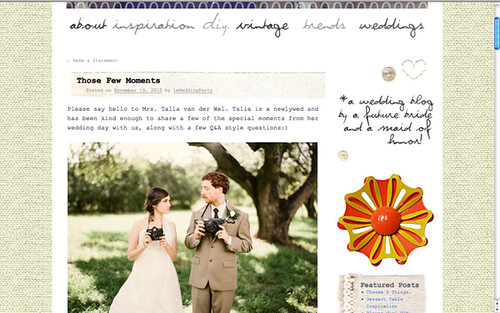
Elsie of A Beautiful Mess was kind enough to feature our wedding on her new wedding Blog (Le Wedding Party)!
Screen shot 2010-11-20 at 12.56.33 PM

Her new wedding blog is full of gorgeous inspiration as she plans her upcoming wedding!

Check out the feature and short Q & A here!

xoxo
Talia Christine

18.11.10

Paper CD Case Tutorial

I love making mixes of my favorite songs. I'd make them for just about any occasion. Road trip? I need a mix. New friend? You need a mix, I'll make you one. However, my biggest beef with mix CDs is no proper transportation or, worse, no playlist. I need a playlist! I need to know what's going on!

Ages ago, I learned how to make a super quick and easy cd case out of paper. It's super cheap, and easy to decorate! Best of all, you can write or print the playlist right on the case. Brilliant!! I've been making these ever since!

Paper CD Case Tutorial

What You'll Need:
Paper
Pens
Your CD

Optional: Anything you want to use to decorate the cd case! 
(I, sadly, am lacking coloured pencils, glue, tape, or anything else I could decorate my case with. But the possibilities are endless!)

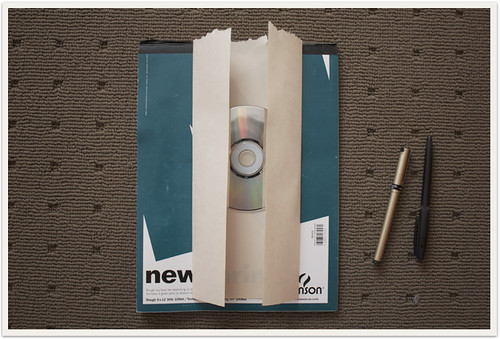
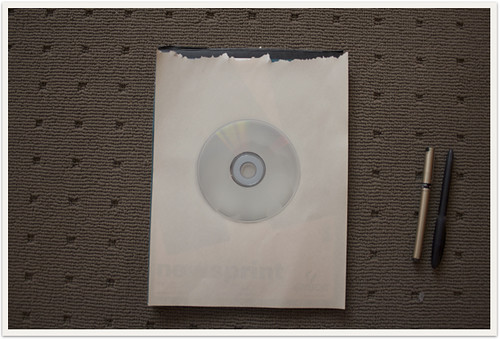
Begin by placing the CD in the middle of your piece of paper, then fold up the left and right sides of the paper against the edge of the CD.
Paper CD Case Tutorial

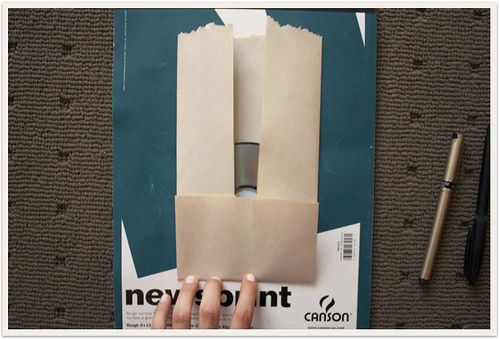
Next, fold up the bottom of the paper to create a flap.
Paper CD Case Tutorial

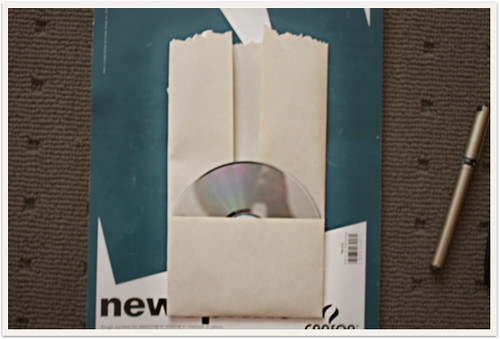
Folding up the bottom flap of paper has just created a pocket for you to put the CD in!

Paper CD Case Tutorial

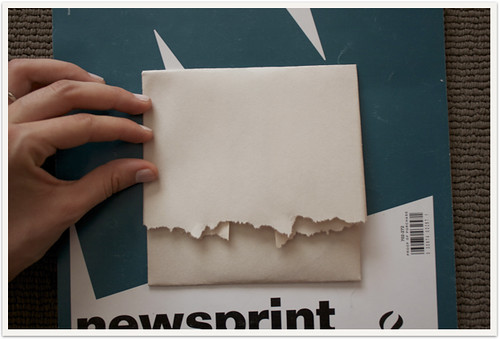
Brilliant! Next, fold down the top flap to finish the CD Case. You can close it with a sticker, wax seal, or some tape.
Paper CD Case Tutorial

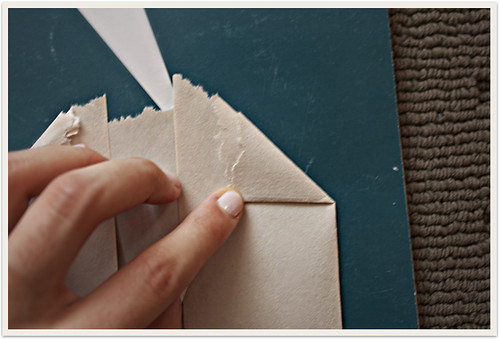
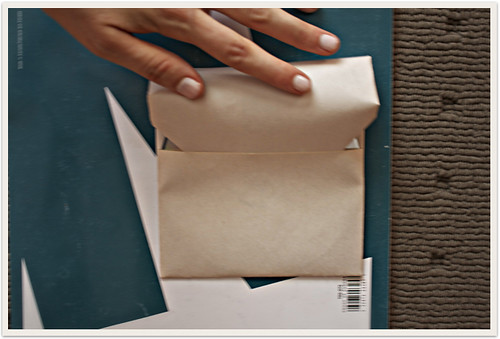
Alternatively, you can fold the top edges underneath and you can fold the the top of the case to tuck into the bottom flap. This is my favorite option as it feels really secure and you don't need any extra supplies, so it can be done in a snap!
Paper CD Case Tutorial

Ta-Da! You've got a gorgeous DIY CD case ready to show off! I like to write the playlist on the back of the case.

Paper CD Case Tutorial

Mix CD's make great presents and a handmade CD case gives it a personal little touch.

Happy mixing!

xoxo
Talia Christine

11.11.10

At Last

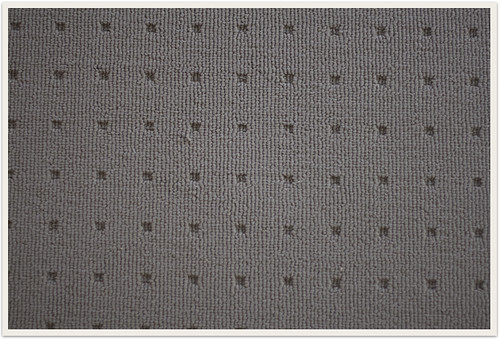
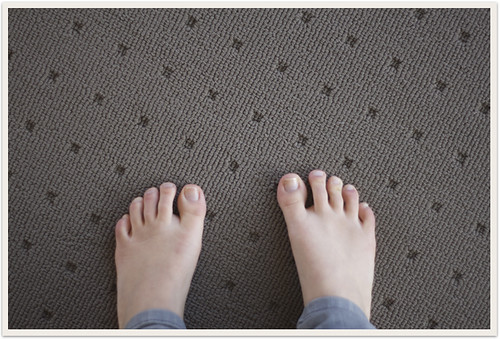
We have our new carpet installed! We moved in 2 days ago and it's been a blast. I absolutely love having our own place.

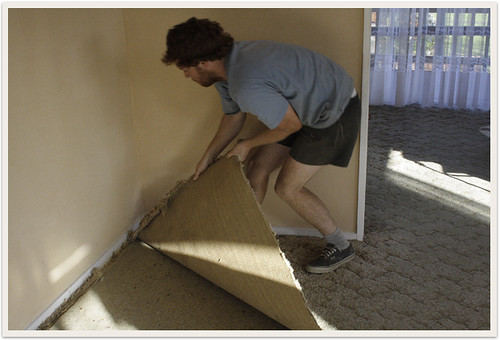
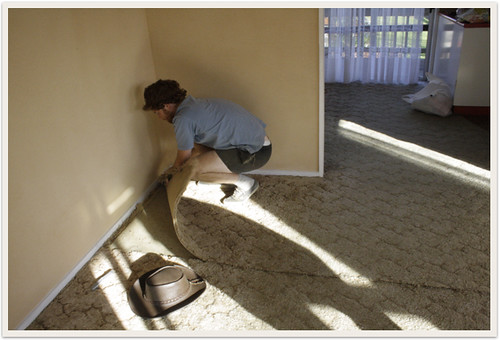
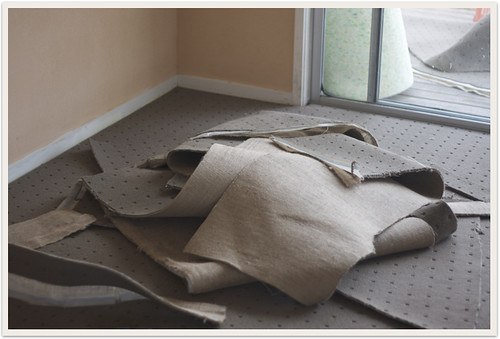
The minute Phil arrived at the new house, he went straight to work and started ripping up the old carpet. What a handy man! I'm so proud of him for all the work he has already done on the house.

ripping
ripping2

With the help of the other van der Wel men, we had the carpet up in no time. I cannot describe to you the smell and filthiness of the old carpet. The amount of dirt under the carpet was even more disturbing! Yuck!

dirt

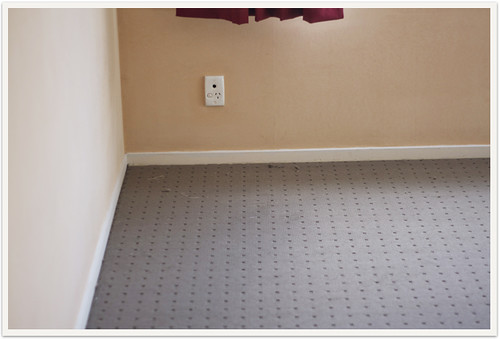
We cleaned up the floors and got ready for the new carpet. Having the new carpet in is amazing! The house magically smells brand new and feels so clean and nice! It's so dreamy.


newcarpet2newcarpet3
newcarpet4

The house was instantly transformed and it's beginning to feel like my own home. Because we don't really have any other furniture (other than our dining room table and bed) it kinda feels like we are camping out at our own house. Which is really fun. It's an adventure and I'm loving every minute of it.

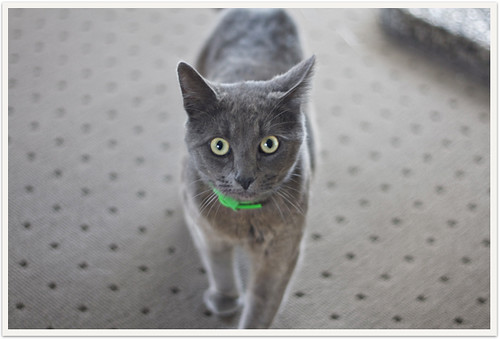
Also, there is the cutest neighbor cat that I have a cat-crush on. If he didn't have a collar I would want to keep him. Sigh. Every time I go into the backyard he hear's my voice and runs to greet me. He sat on my lap this morning for 10 minutes on the porch. Sigh. He's so sweet. I call him "Mistar Neighbar Cat" since I don't know his name. He's sleeping on our porch right now. I want to kiss his little cat face.

mistar

He snuck inside to say hello while the new carpet was being put down.
Isn't he so cute? I love his gray nose.

xoxo
Talia Christine

10.11.10

Sew Smitten

I'm in love with sewn versions of things that wouldn't normally be sewn or stitched. I've become absolutely smitten and my head is full of ideas and versions I'd like to try.

Embroidered love notes by katie.cupcake.
 
How sweet is that?!


And I'm loving this hand-sewn love letter by Twig and Thistle:


A hand-stitched note and felt envelope would make such a cute gift for a loved one.
I love this envelope from LucyKate Craft:


(Be sure to check out her full tutorial!)

I've had these bookmarked for about a year or so in my favorites and just re-discovered them! 
I want to try to stitch up a few myself for decorations in the new house.

Happy stitching!!
xoxo
Talia Christine

9.11.10

The Magic Is In The Telling..

I am in LOVE with these beautifully intricate paper artworks by Yulia Brodskaya.


I basically die when I look at these. They are SO amazing!!! What talent to be able to create something so delicate and beautiful. Sigh.

Check out more here: source

xoxo
Talia Christine
8.11.10

Welcome to Our Humble Abode

Friday we took possession of our house. Our house!!! It feels so awesome to have a place of our own that we'll build our lives and memories in.

We haven't moved in yet, but we've started demolitions and fix-ups right away! We plan to move in the house this Tuesday after the new carpet is installed. The old carpet was so yuck.

Seriously, ew.

I snapped a few shots Friday evening but the light was fading fast so I didn't get the greatest shots.

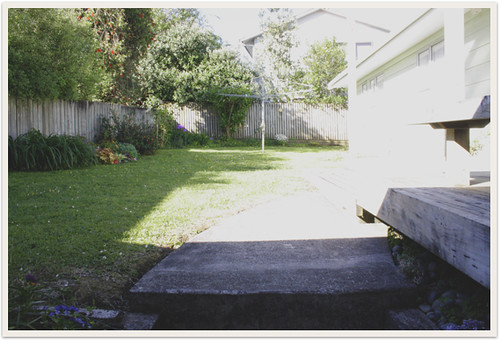
Here is the backyard which is off the carport to the left of the house. The back entrance sort of acts as the main entrance of the house at the moment. Eventually we'd like to change the front door (which is currently a sliding door) to be the main entrance. All in due time!

backyard

The backyard is really beautiful actually. There are some incredible flowers in the flowerbeds and I can't wait to add our veggie garden into the mix.

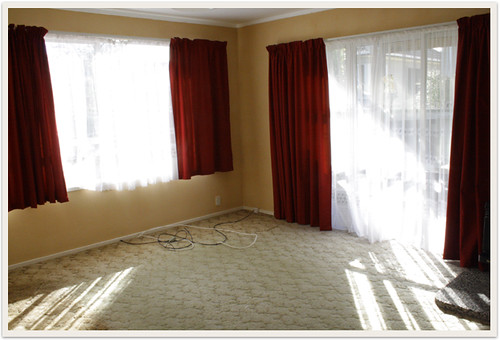
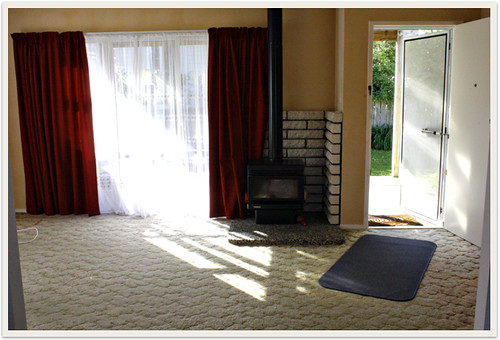
When you step inside you walk into the living room. The living room is quite large with a wood burner for cozy winters. Mmmm!!

livingroom
livingroom2
livingroom3

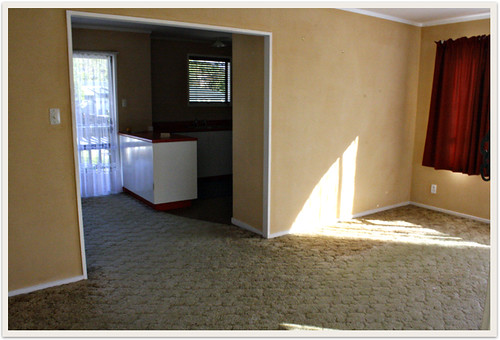
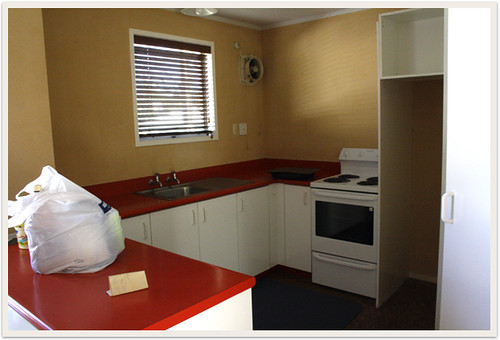
Beyond the living room is the kitchen and dining room.

kitchen

(Note the tiny space for a fridge and the red counter-tops. Haha! Not really my fave.)

diningroom

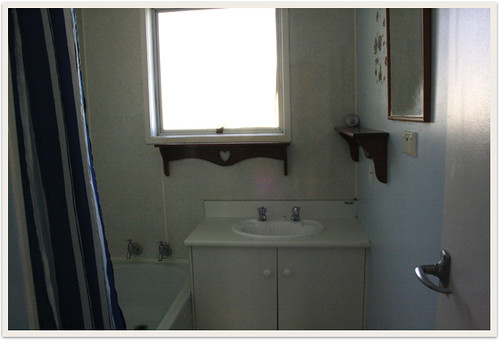
Off the dining room is a long hallway leading to all the bedrooms of the house, the laundry, and the bathroom.

bathroom

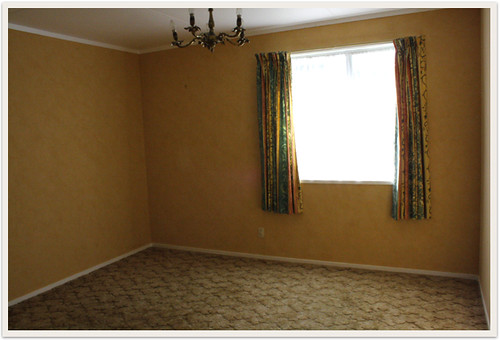
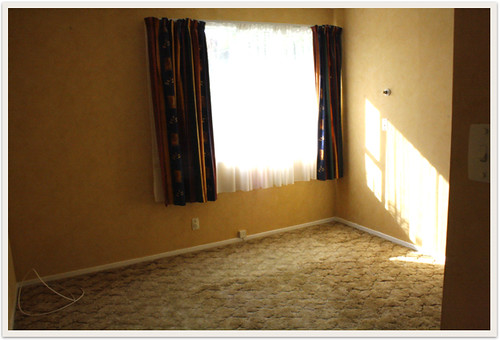
Bedroom 1 (Quite a large room, I think the original master bedroom?)
bedroom_1

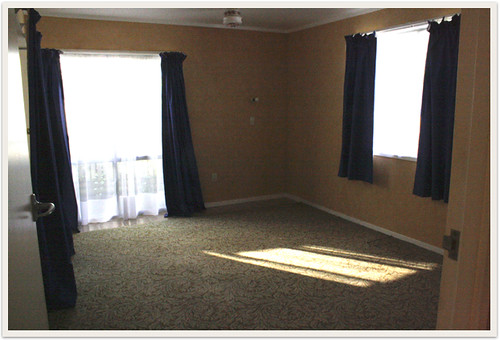
Bedroom 2 (Still big, though slightly smaller)


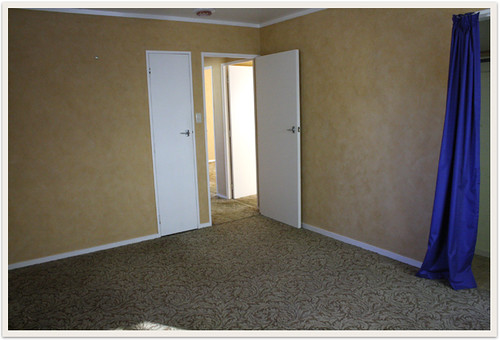
Master Bedroom (Worst picture ever. Sorry!)
masterbedroom
insidemasterbedroom

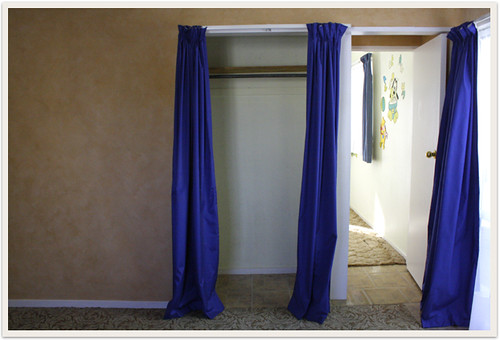
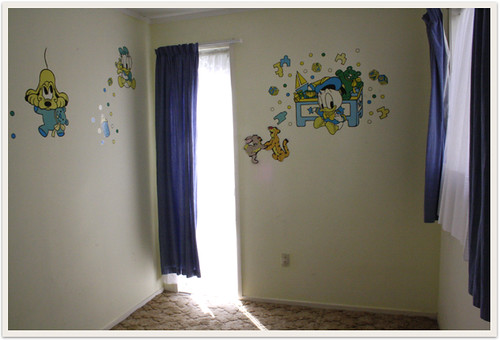
Through the master bedroom is a small nursery or 4th bedroom. I know it as my future craft room. I can't wait to decorate it and have a place to organize all my craft stuff! It's like a dream come true.

mbedroomclosetnursery
nusery

There is lots that needs doing on the house, but it's so exciting to us! We have a place to call home and make our own. It's an exciting next chapter of our married life.

xoxo
Talia Christine