Pickled jalapenos are one of my favorite condiments. I mean, they're right up there with ketchup, mustard, and mayonaise. We eat a surprising amount around here so it's no surprise that we prefer to pickle our own.
It's super easy too!
You'll need:
Fresh jalapenos
Jars
Vinegar
Water
Salt
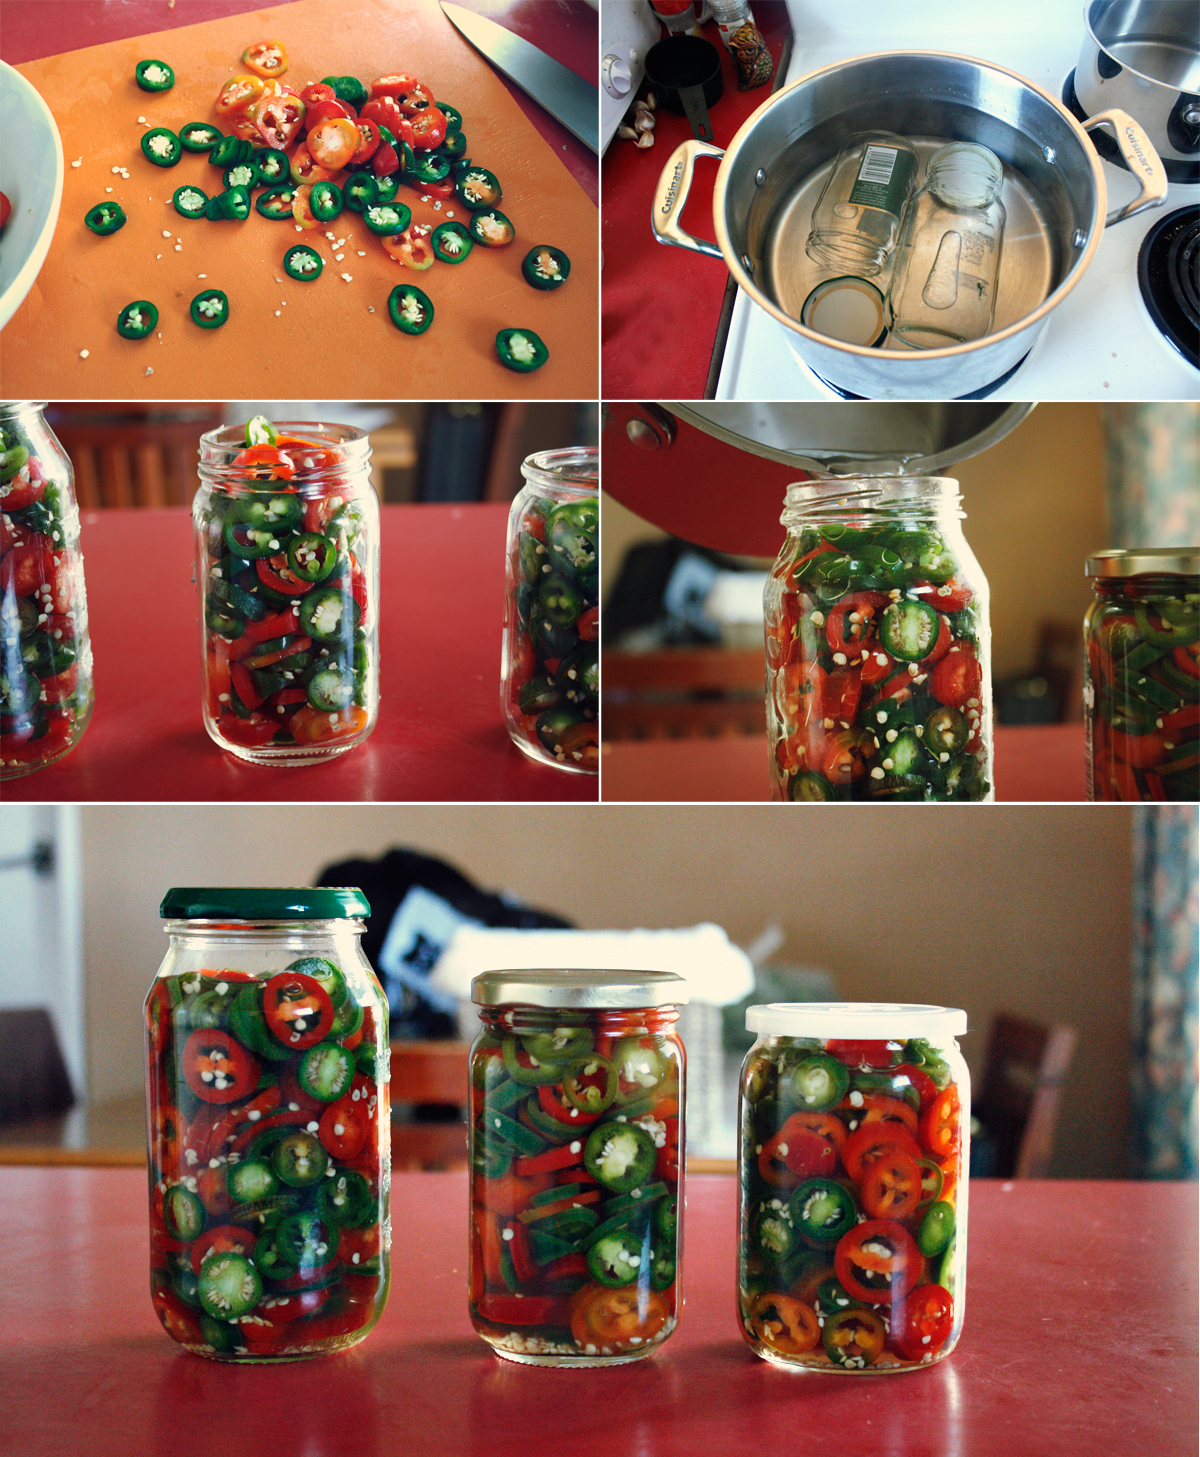
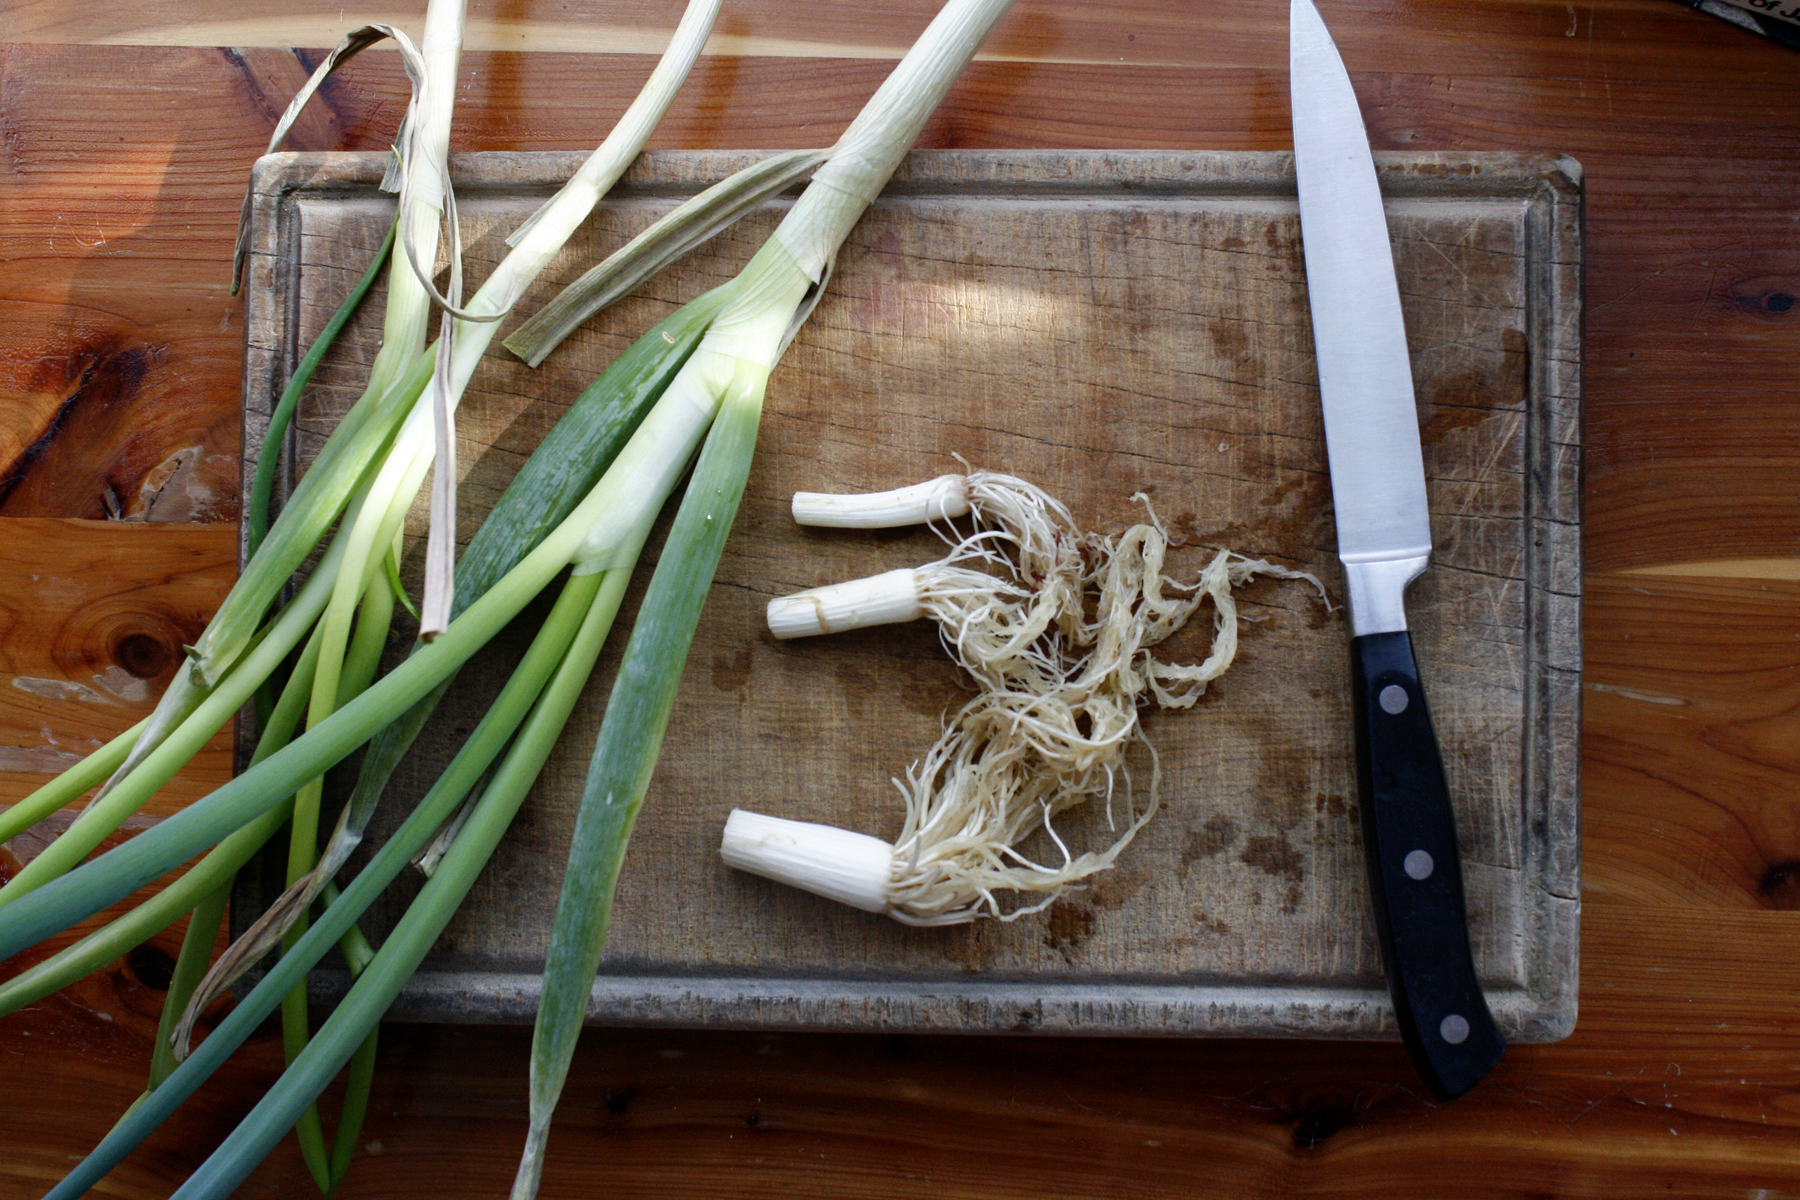
1. Wash and slice your jalapenos. TIP: Wear gloves during the slicing process! The oils from the peppers can linger on the skin for hours. Trust me on this one. Wear gloves.
2. Sterilize and prepare your jars and lids in boiling water for 5 minutes. In another pot, bring your vinegar, water, and salt to a boil. You will use a 1:1 ratio of vinegar and water, and a pinch of salt (to your liking).
3. Pack the sliced peppers into your clean, sterilized jars.
4. Pour the boiling vinegar sauce over the sliced peppers and fill to the top, leaving only a small space. About 1/4-1/2 inch space. Give the jars a nudge to remove air pockets and place the lids on immediately.
5. Check jars seals before storing. If there are any that don't seal, refrigerate promptly. Age a few weeks before eating.
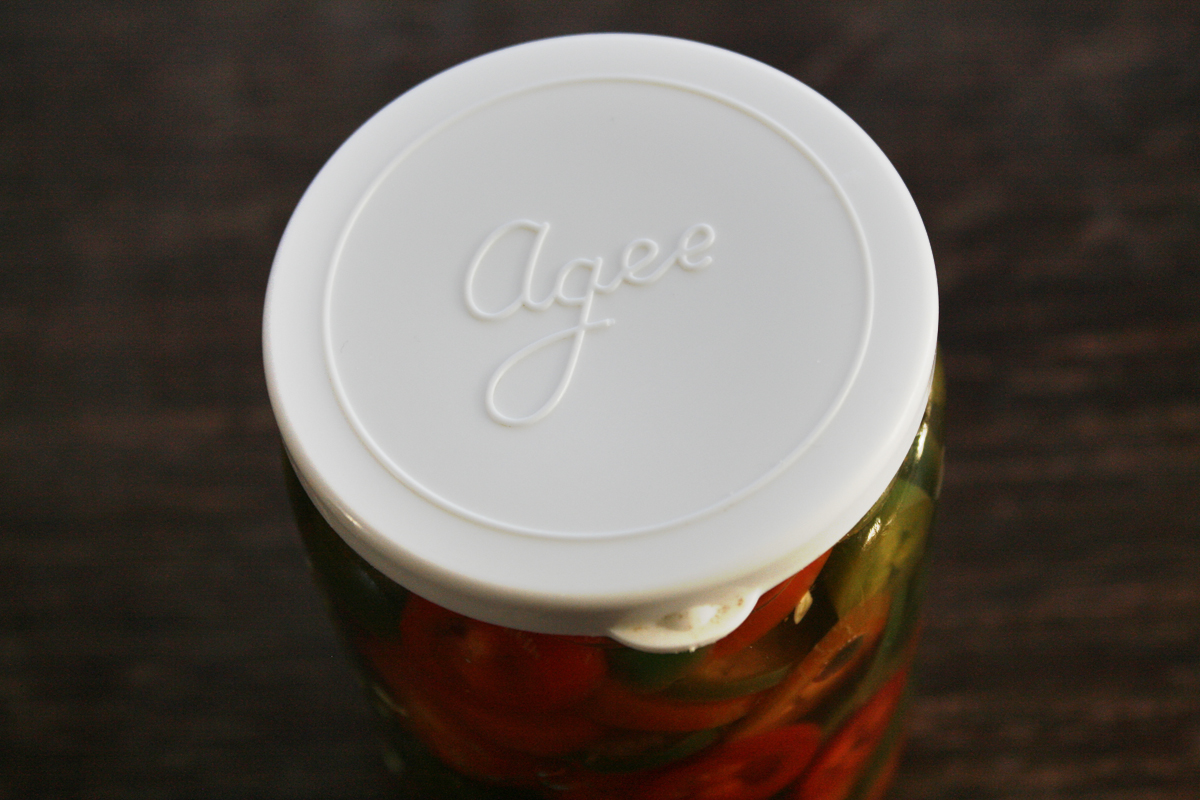
Simple as that! And delicious too.
xoxo
Talia Christine

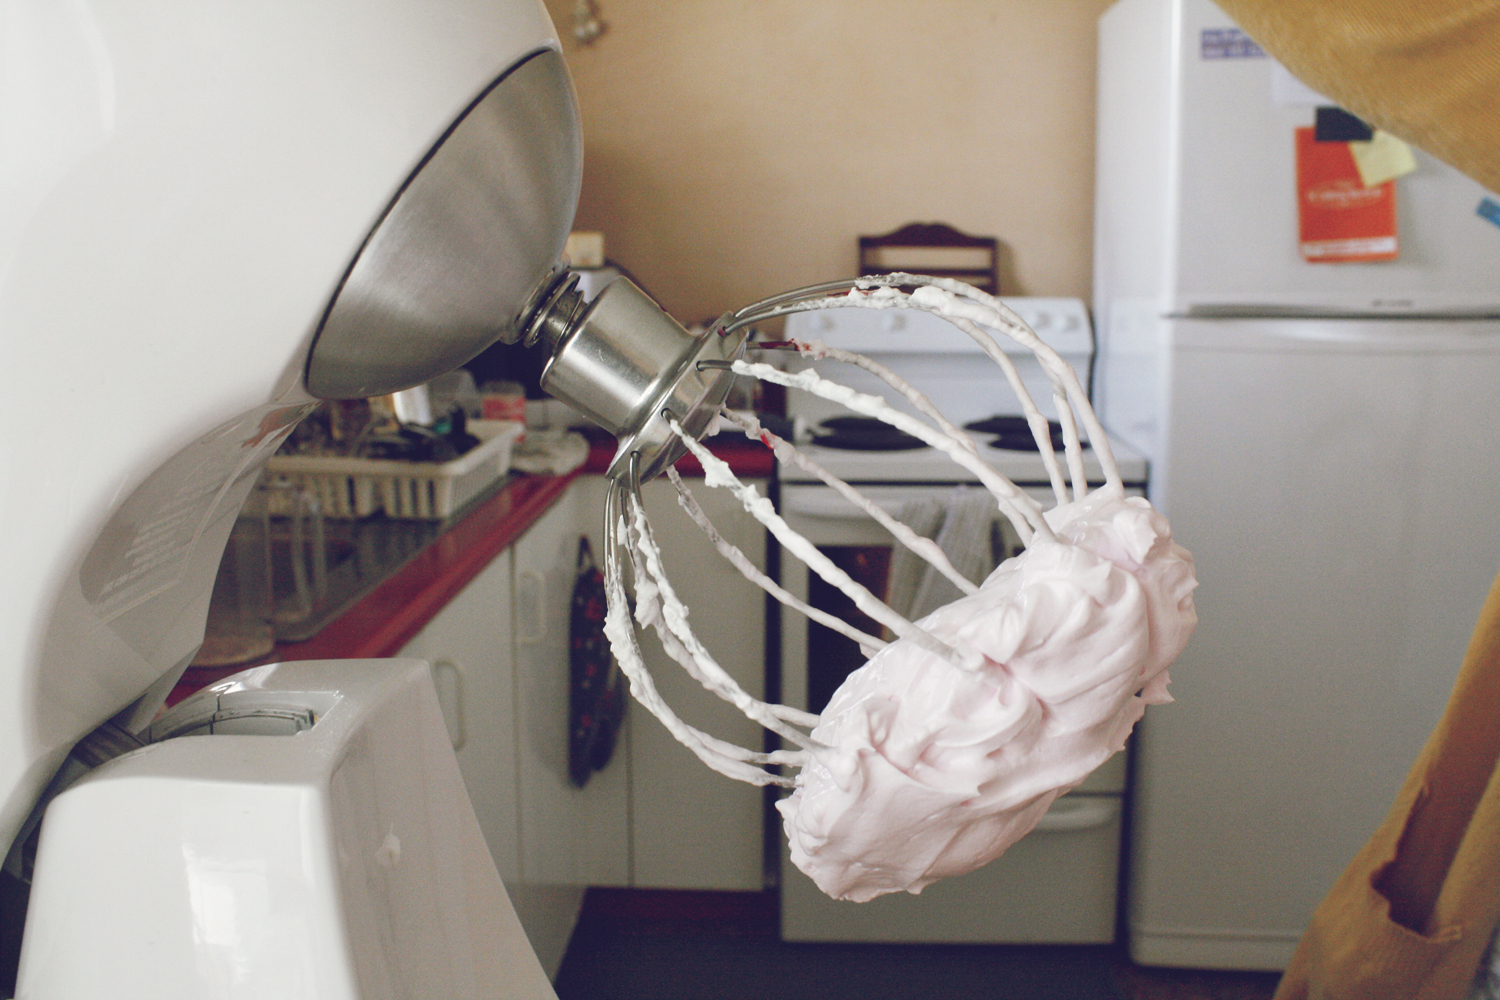
Macarons.
Sweet. Soft and crunchy. Gooey insides yet light as air. Heavenly bliss.
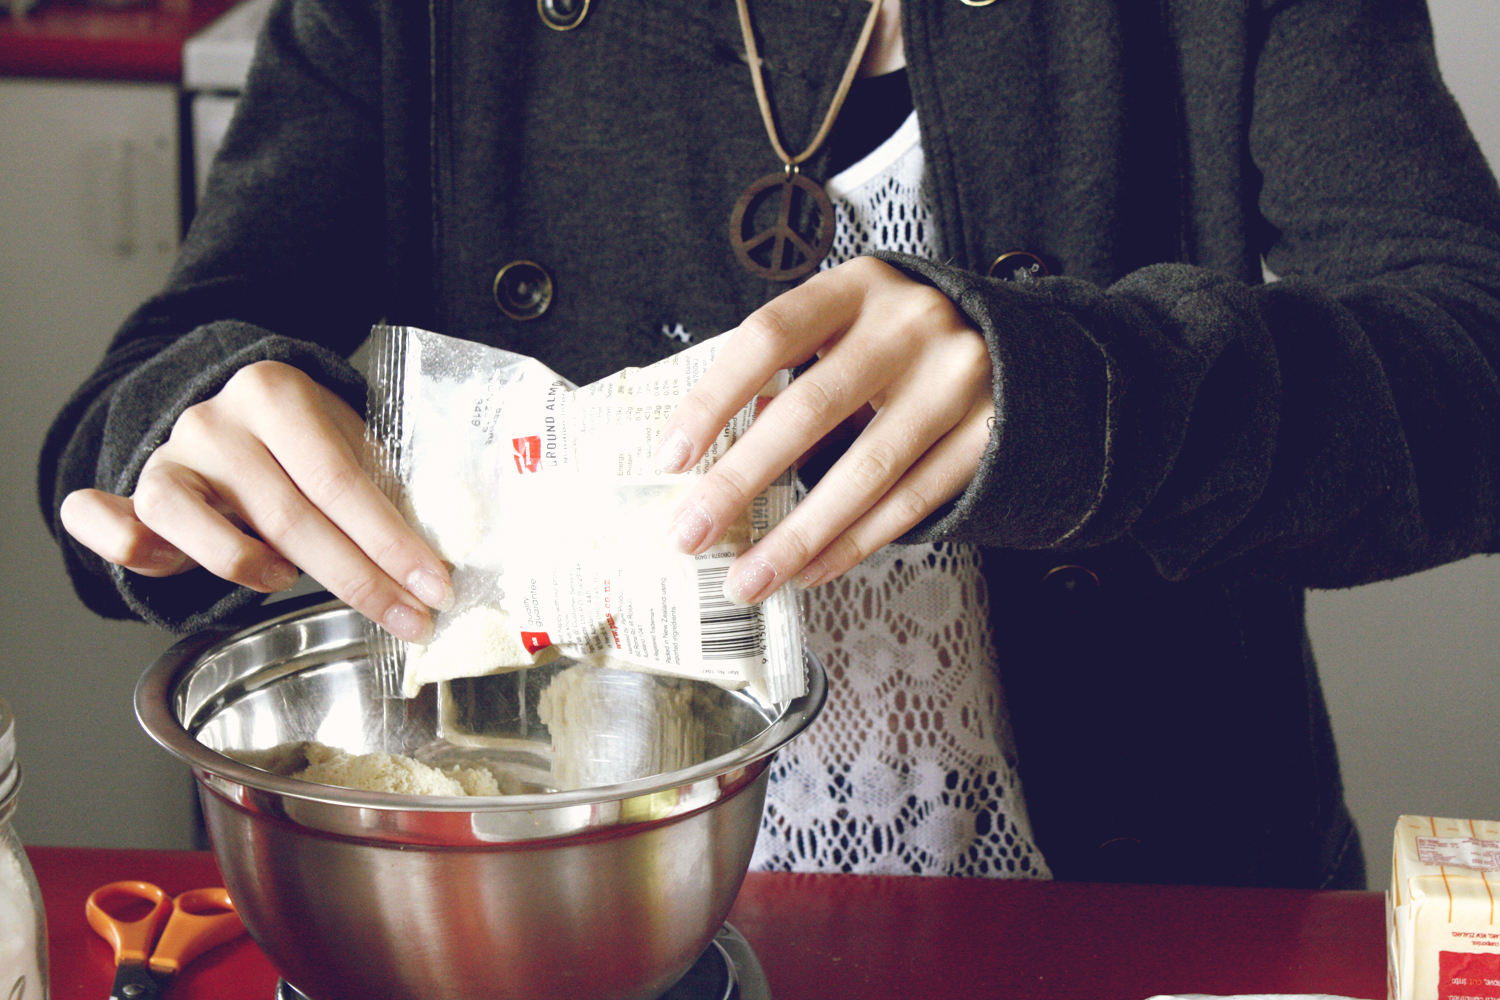
I thought: Why not try and bake macarons? You only live once. Plus, how hard can they be?
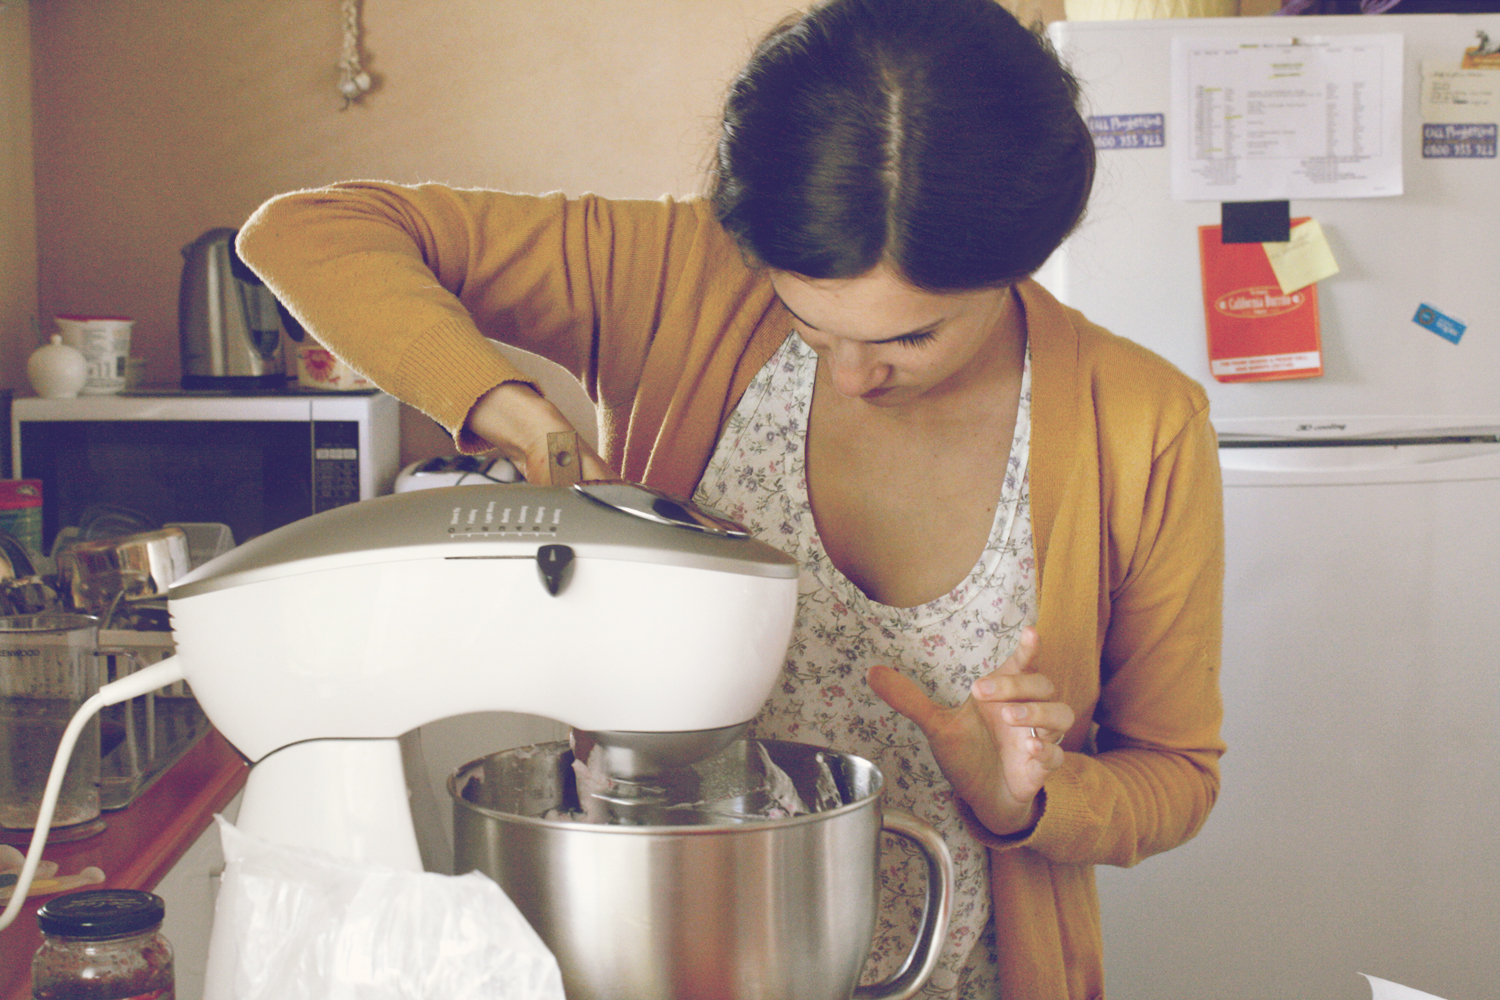
Well, kinda tricky I guess, but not all THAT hard. I invited my pretty friend, Petra, to come over for a baking adventure. And you know what? I think we did pretty well. We're determined to perfect and hone our macaron baking skills. Because sometimes you just need pretty cookies in your life.
Well, at least I do.

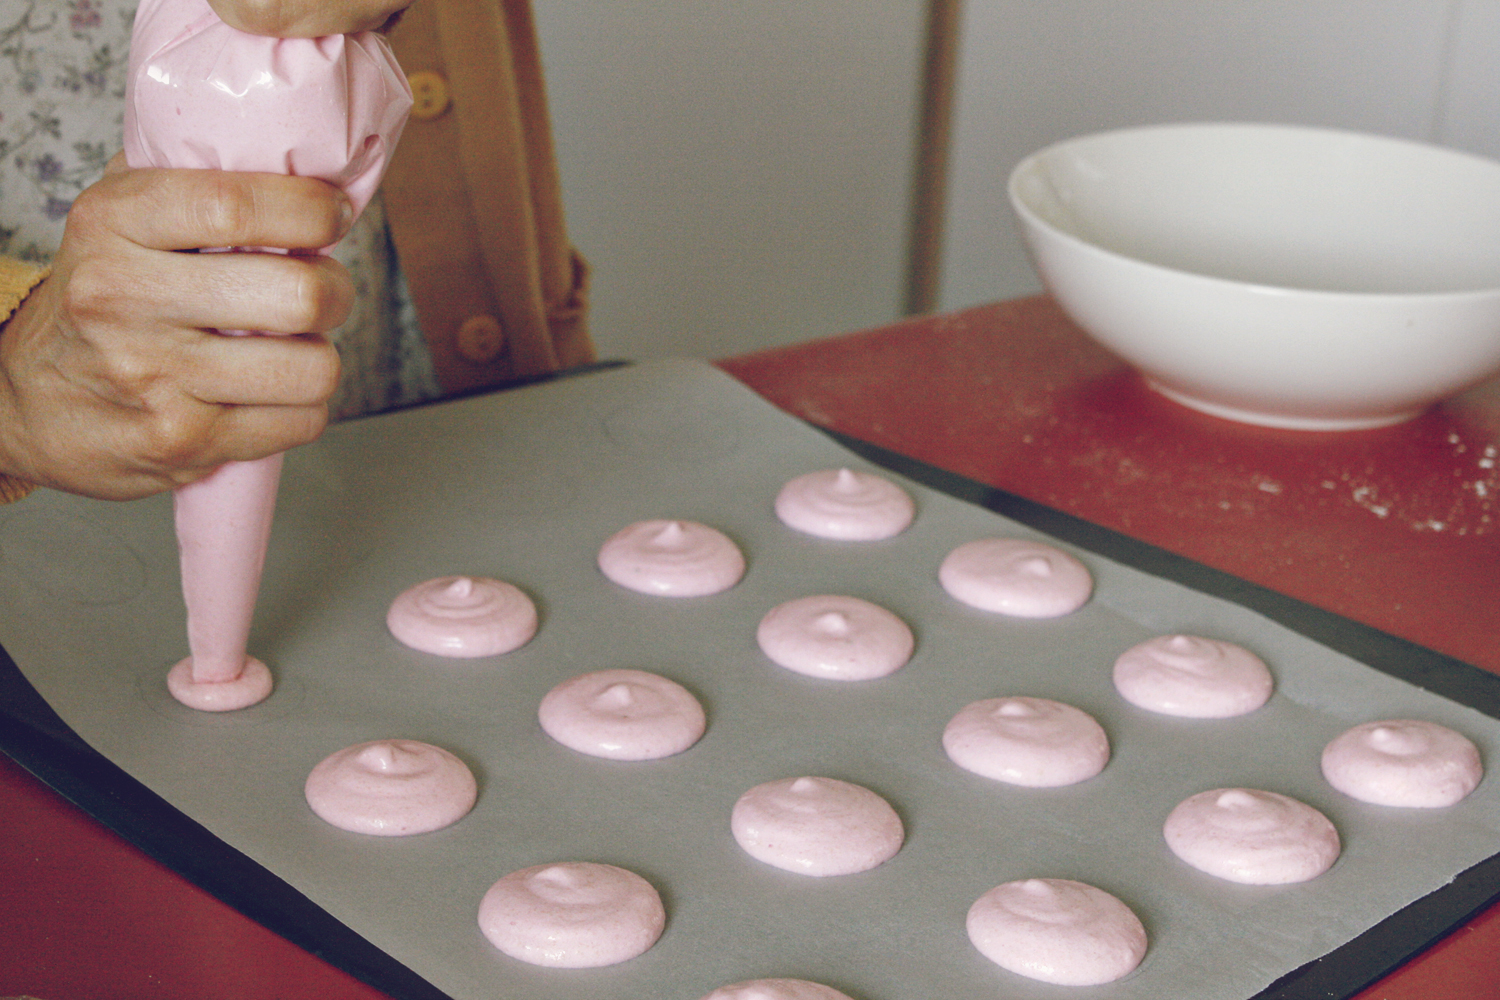
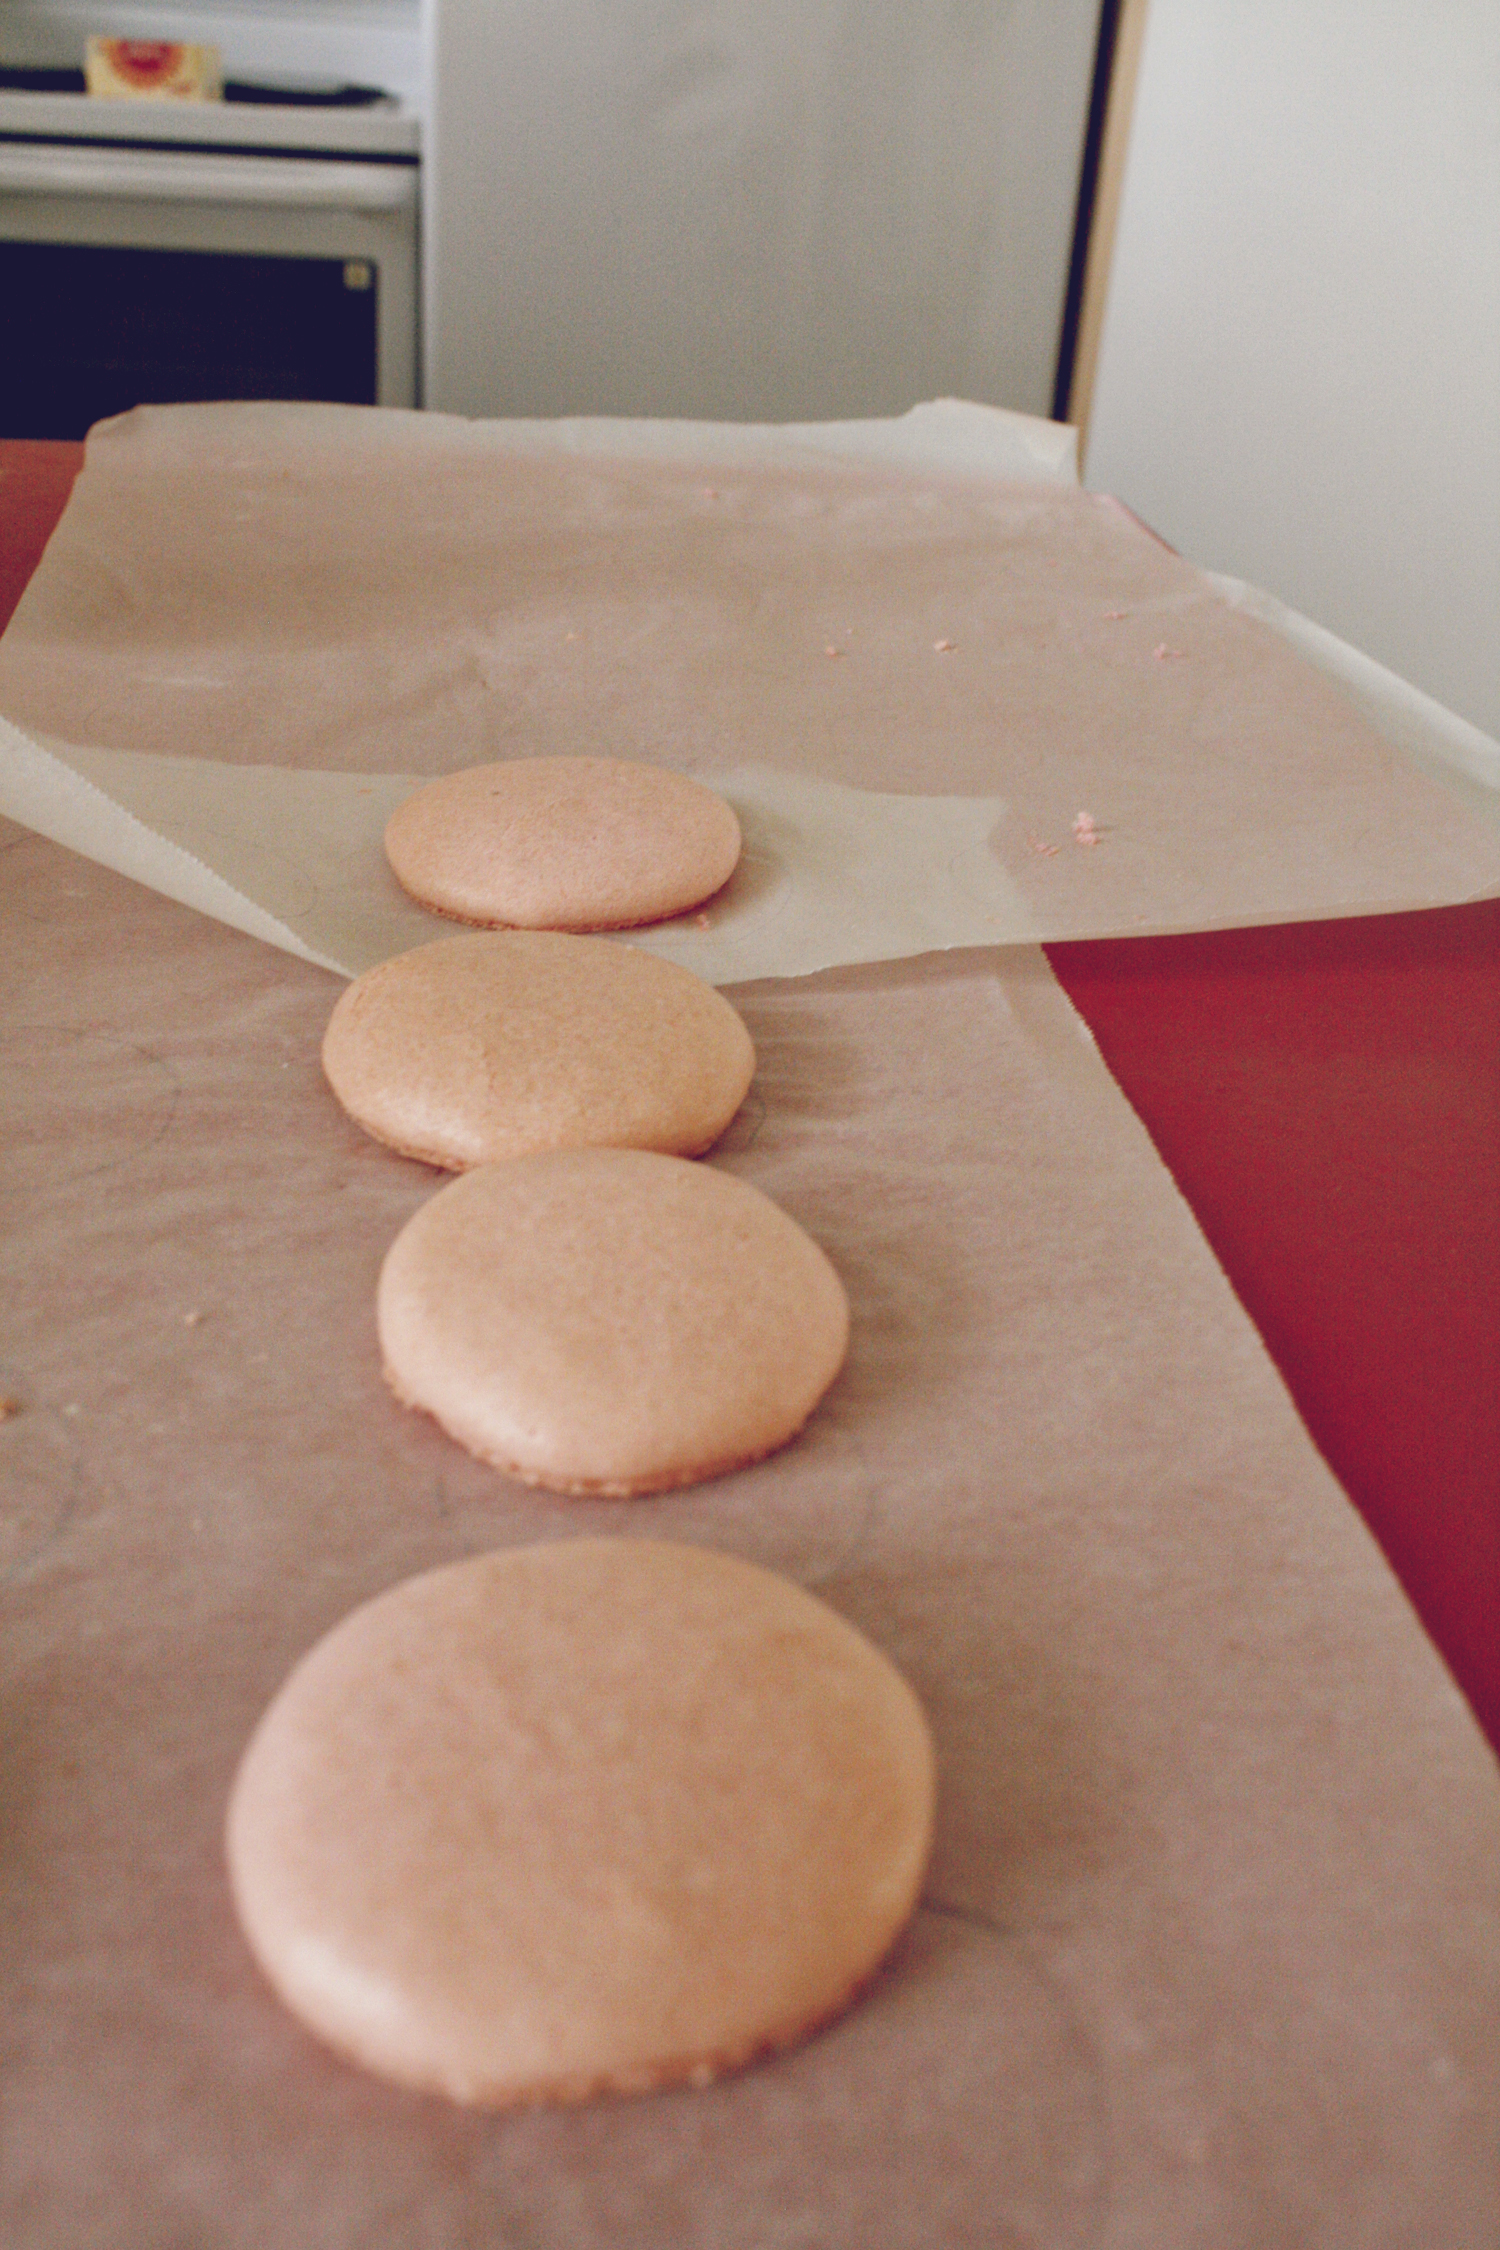
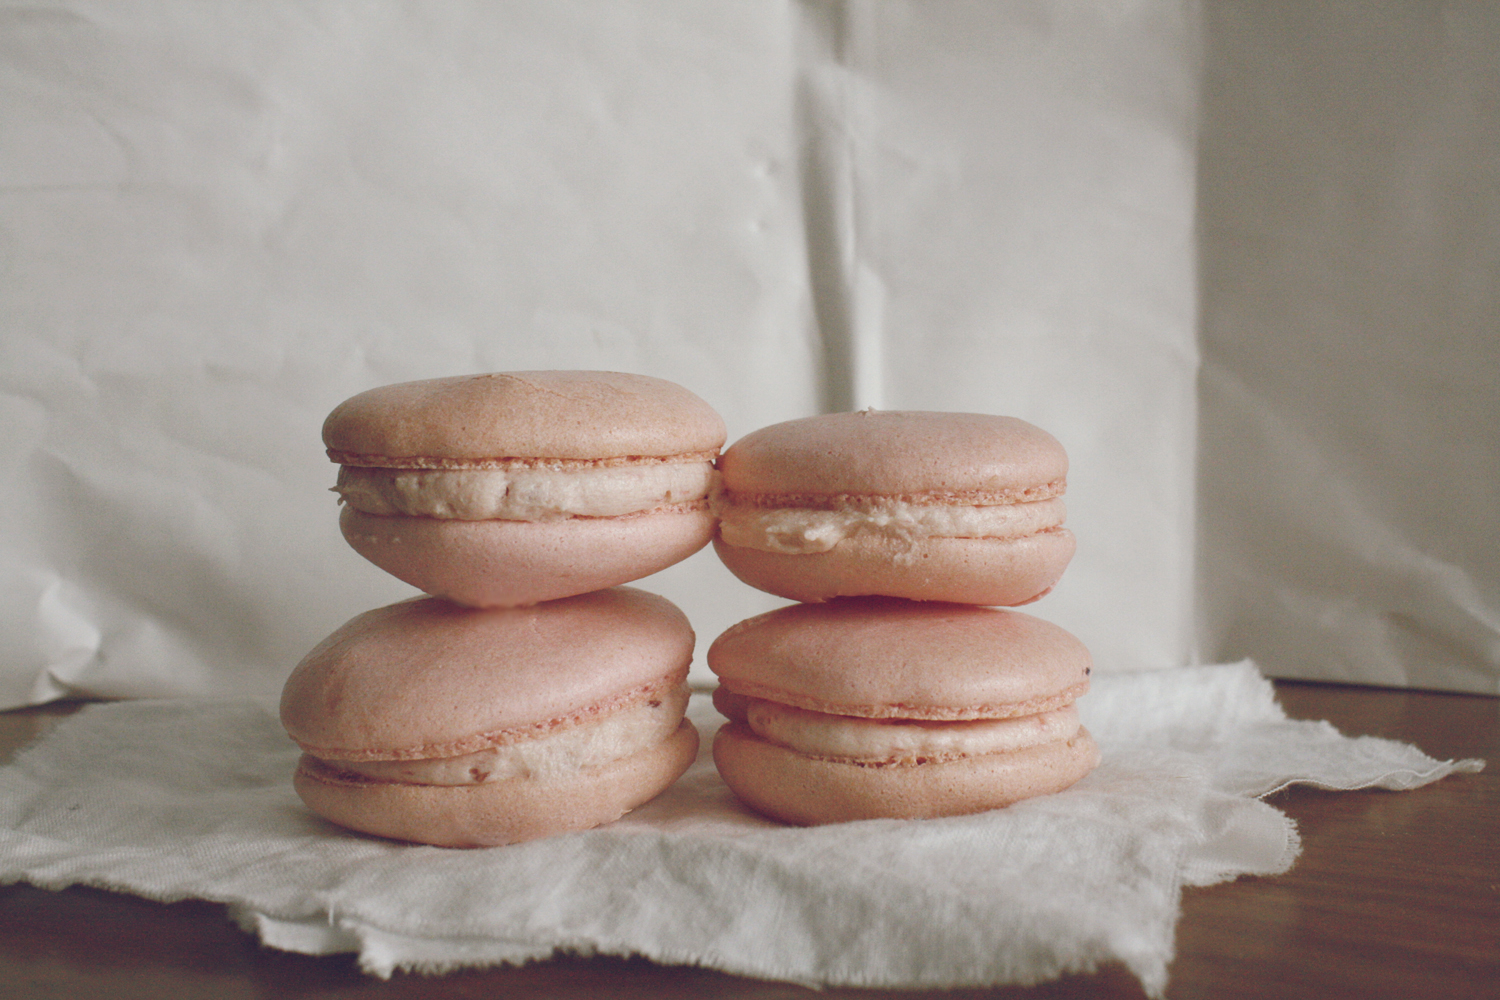

We baked three trays in all. Our first tray cracked and collapsed mostly. Our second, we switched things up a bit and had more success. Our third tray was picture perfect.
We baked a raspberry cookie and made a raspberry buttercream filling. Divine.
I searched the internets high and low for a recipe that I felt comfortable trying and landed on this one. It's excellent. The recipe worked out well for us and there are GREAT troubleshooting articles on the website. Brilliant!

Pretty pretty Petra
It CAN be done, folks!
Go on, give it a try. Conquer your baking fears.
Edit: I posted a link to recipe in the blog post, but a lot of people have been asking me for the recipe...
For those of you that missed it the first time:
http://bravetart.com/recipes/Macarons
xoxo
Talia Christine